Table of Contents
Requirements
Prepare
Download and Install all the software mentioned under the Requirements section.
- nLite ist the tool used to integrate the service pack 3 into the system and also integrate the Sereby Post SP3 update pack
- The Serey Post SP3 Update Pack only contains Security fixes (only wga free updates) and some other usefull additions (adaptec aspi ..)
- The DriverPacks are used in the opsi system to install the needed drivers and are also partly required for the Windows XP Install Image.
- The Opera Browser is here as an example for a Torrent aware downloader. You can use other Torrent clients to download the Driverpacks
- Virtual Clone Drive is requred for nLite to copy the content of the iso Image to the harddisc for its magic.
Windows XP Integration
nLite SP3 and Post SP3 Updates
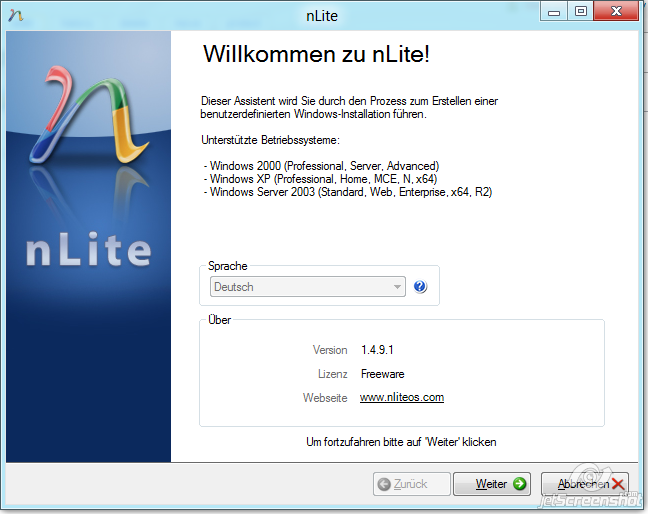
nLite is a tool to optimize WindowsXP Windows2003 and remove not needed parts (will not be described in this howto)
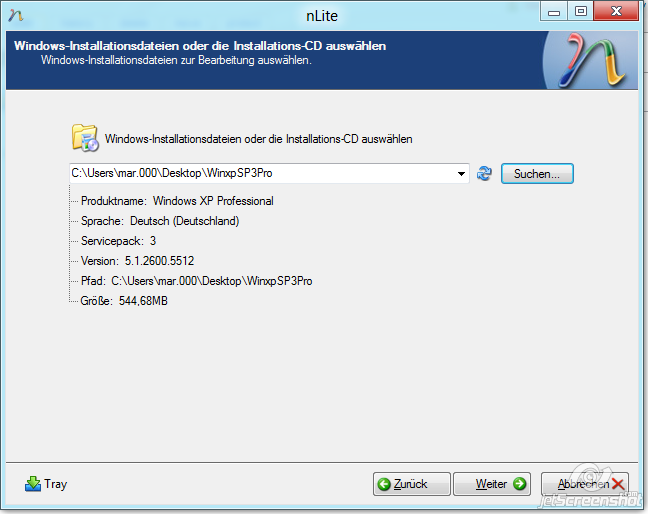
Mount the Windows XP Professional RTM iso image into the virtual clonedrive select the Virtual Clone Drive as the source image. it will ask you for a destination for the work on the windows image.
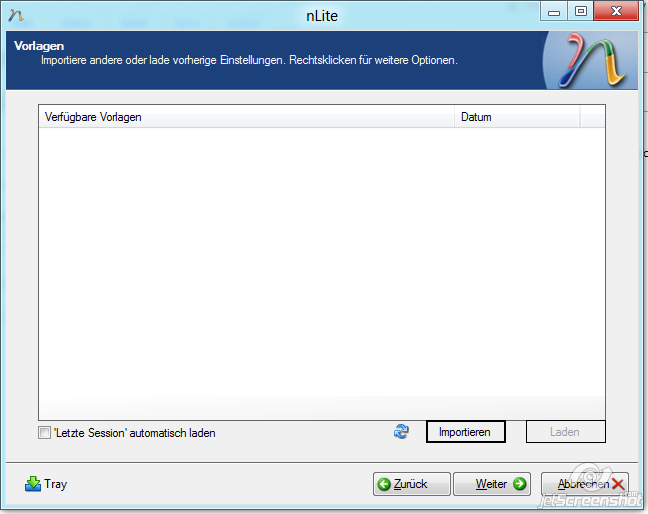
you can load a old config for the nlite config
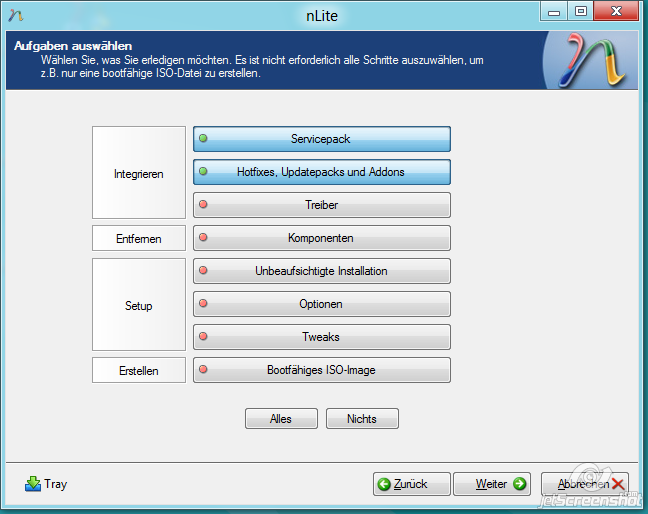
Then you can select the actions you want to do on the Windows image
! Don't select Drivers !! we are integrating them via a different tool
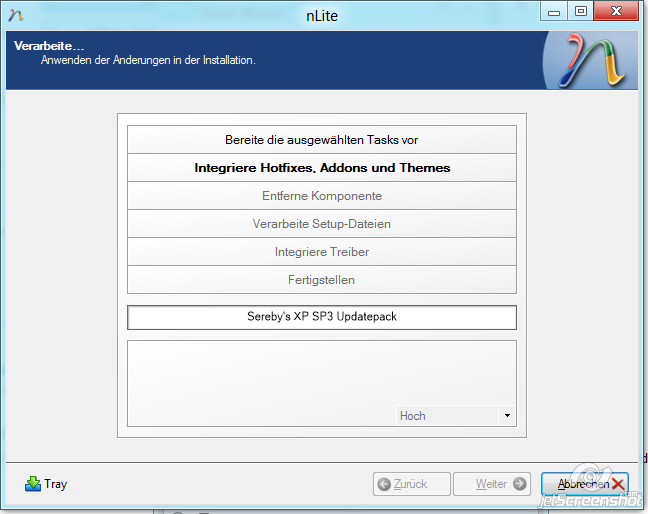
Now you can integrate the SP3 into the copied Windows XP image
!! Todo Create SP3 integration screenshot !!!

Now you can Integrate the Sereby Post SP3 Update pack. it will integrate all Security fixes for windows XP a nice sideeffect is the reduced download ammount from the clients when updating.
!! Todo Create integration screenshot !!!

After that you get asked if you want to start the process.
Now the Windows Image is Prepared with SP3 and the Post SP3 Security updates
MassStorage Driver Integration
Windows XP needs the MassStorage drivers integrated into the install otherwise it could not be installed on this new AHCI based systems. so lets integrate them into the Install Image
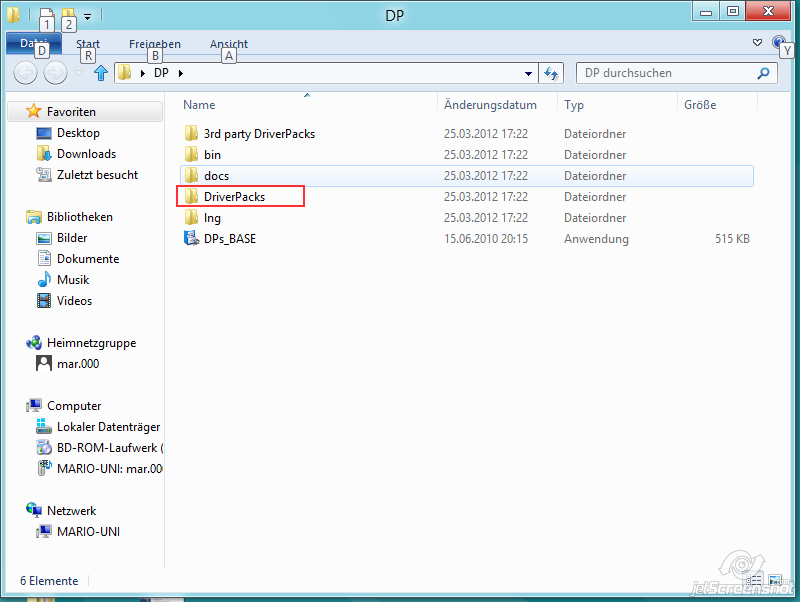
Copy the Downloaded MassStorage Driver pack into the DriverPacks Directory of the extracted DriverPacksBase Archive
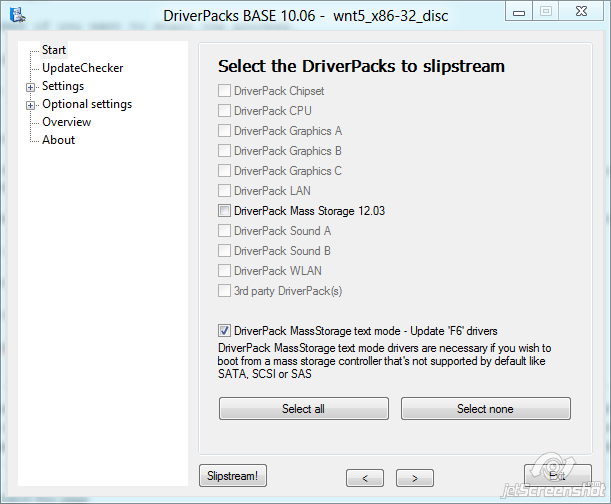
! Don't include other driverpacks as they are handled propperly by opsi !!
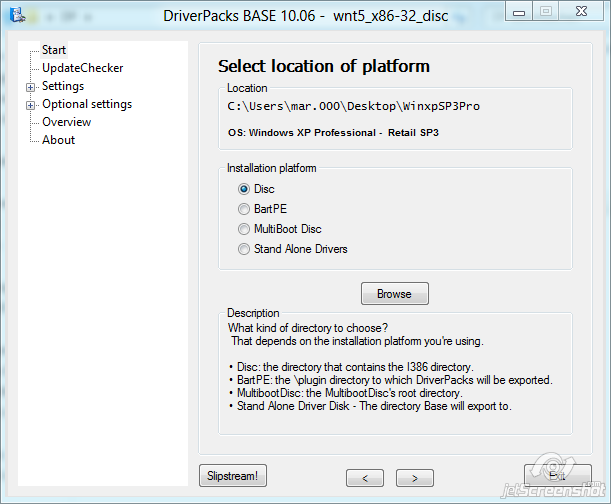
Now select the location of the Windows Image
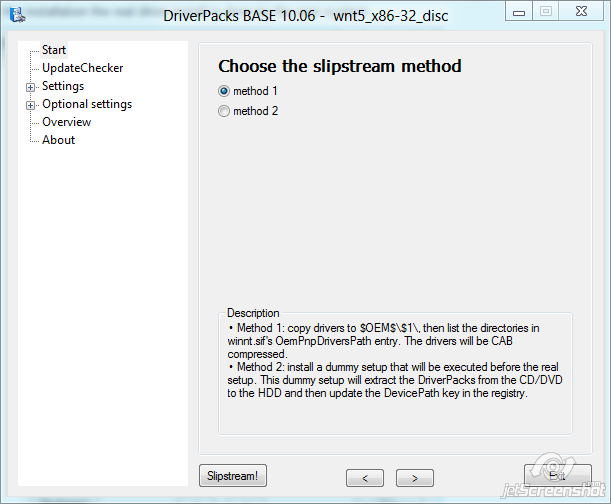
Now just select Text Mode F6 integration
!Don't select the integration of the driver pack as it would overwrite the setup.exe and replaces the driver searchpath that is used by the opsi driver install !! We just need to get the drivers into the textmode installer for the installation the real driver install is done by the opsi system.
We can use the Method 1 for the driver integration we are just adding a limmeted ammount of drivers integrating all driverpacks this way will not work winnt.sif would just get too big for the setup prgramm thats why method 2 is the default but this method will break opsi.
Now you can Slipstream the MassStorage drivers into the Windows Image
Now the Windows Image is ready for the opsi system. it contains the SP3 the post SP3 security updates and the MassStorage drivers from the Driverpacks for the TextMode Install.
Opsi Integration
This Section describes howto integrate the prevously created windows Image into the Opsi Windows Install System with all the DriverPacks.
Copy Windows & Driverpacks
copy the i386-directory of the prevously created WinXP Professional Install image in the directory /opt/pcbin/install/winxppro directory. When the file copy is done, you have to change the rights of the i386/ directory. Change to the winxppro directory an fire the following command:
opsi-setup –set-rights i386
The files may also copied over the network. Therefore you have to connect the share opt_pcbin as user pcpatch the opsi-server. The corresponding directory you will find under install\winxppro.
Next copy the DriverPacks*.7z to the server for ex. /opt/DP . Then go thot the /opt/pcbin/install/winxppro directory and run the command
python extract_driver_pack.py /opt/DP/
when the decompression is done you will have about 3GB of drivers extracted to /opt/pcbin/install/winxppro/drivers/drivers/D.
Additional drivers can be added, each into its own sub directory of winxppro/drivers/drivers/preferred. Don't just extract the prefered drivers to this directory because opsi just uses the first found directory that matches the pciid, even if it is the driver for another windows version so just copy the the driver dir that matches the WindowsXP to this directory. In some cases you need to have the compleate driver dir then you can also delete the other incarnations (Scanner drivers sometimes include silent install software)
After adding new drivers (or any other change) adjust rights with (e.g.):
opsi-setup –set-rights /opt/pcbin/install/winxppro/drivers
then you have to create the symlinks for the opsi system
python create_driver_links.py
The script searches all the directories beneath drivers and creates links to assign drivers to its hardware (using the PCI-IDs, USB-IDs, HD-Audio-IDs). Drivers found beneath the directory preferred will indeed be preferred against other ones with the same IDs beneath other directories. During installation, the script setup.py from the boot image identifies the client hardware and determines the required drivers. The drivers will be copied to the hard disk, and the file unattend.txt (which is the control file for the Windows unattended installation) will be patched accordingly.
The create_driver_links.py script also extracts once the driver information from the i386 or installfiles directory to the buildin directory. If you make any changes to these directories (e.g by integrating a service pack) you should delete the builtin directory and call create_dirver_links.py again.
! Parts of this section where taken from the Opsi Handbook (cut'n'paste)!!

